(Important Note: Always use LOW POWER MODE for areas above the shoulders, like the head and neck.)
For Headaches & Migraines
Option A: On both temples (sides of the head). Use Low Power Mode only!
Option B: On the top of both shoulders (High or Low Power mode).
For Neck & Shoulder Pain
Option A (Neck): On either side of the cervical spine (back of the neck). Use Low Power Mode only!
Option B (Shoulders): On the sorest areas of the shoulders (High or Low Power mode).
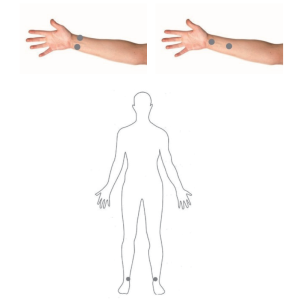
For Arm, Elbow & Wrist Pain
General Arm/Shoulder Pain: Place one pad on the shoulder and the other further down the arm.
Elbow Pain: Place one pad above the elbow (on the upper arm) and one below (on the forearm).
Wrist Pain: Place on both sides of the wrist.
For Chest & Abdominal Discomfort
Respiratory Issues (cough, bronchitis): Place on the outer chest muscles, on the right side, away from the heart.
Abdominal/Stomach Issues: Place on the abdomen with comfortable distance between the pads.
For Back, Hip & Leg Pain
Lower Back Pain: Place on either side of the spine, below the ribs.
Sciatica/Leg Pain: Place one pad on the lower back near the spine and the other on the back of the thigh.
Knee Pain: Place one pad above the knee (on the thigh) and one below (on the shin).
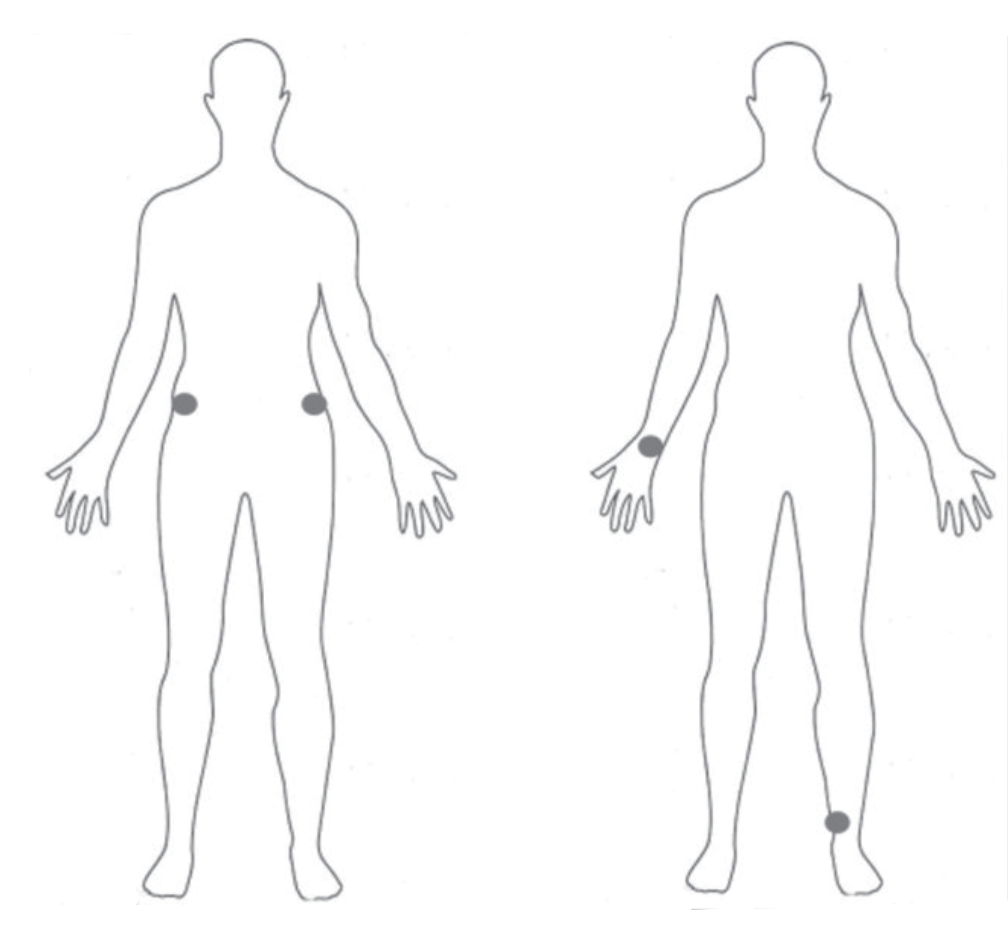
For Whole-Body Programs
Option A: On both sides of the waist.
Option B: One pad on the inside of the right wrist and the other above the left ankle.
For Other Issues
Muscle Injury: Place on either end of the injured muscle.
Nerve Pain (Neuralgia): Place on either end of the affected nerve pathway.


Hi there. I have ALS bulbar and it’s in my hands and right foot and leg. Where is best place for pad placement please.
Thank you for your message. I’m really sorry to hear about your condition, and I’ll do my best to guide you safely.
For general use, please remember that TENS pads should never be placed on or near the head, neck, or over the heart. Given that your symptoms are mainly in your hands, right foot, and leg, here are some safe placement suggestions depending on what you’re using:
🔹 If using the Blood Purifier
You can use one of the following placements:
Preferred: On the inside of both ankles — this is the best option for overall circulation exposure.
Alternative: On one arm, with one pad on your wrist and the other higher up your forearm (inline with the veins).
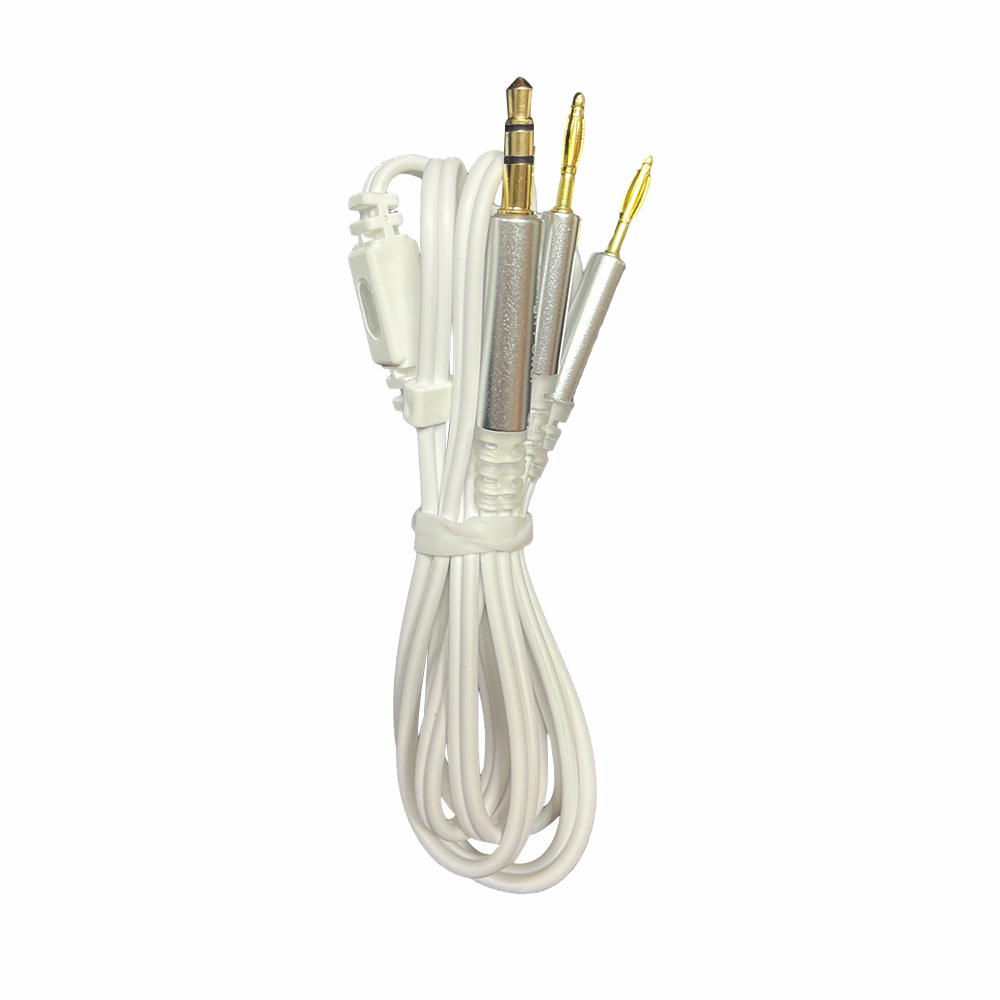
🔹 If using the Low Power cable
Pads can be placed anywhere on your body, including above the shoulders, if you’re targeting general or local discomfort.
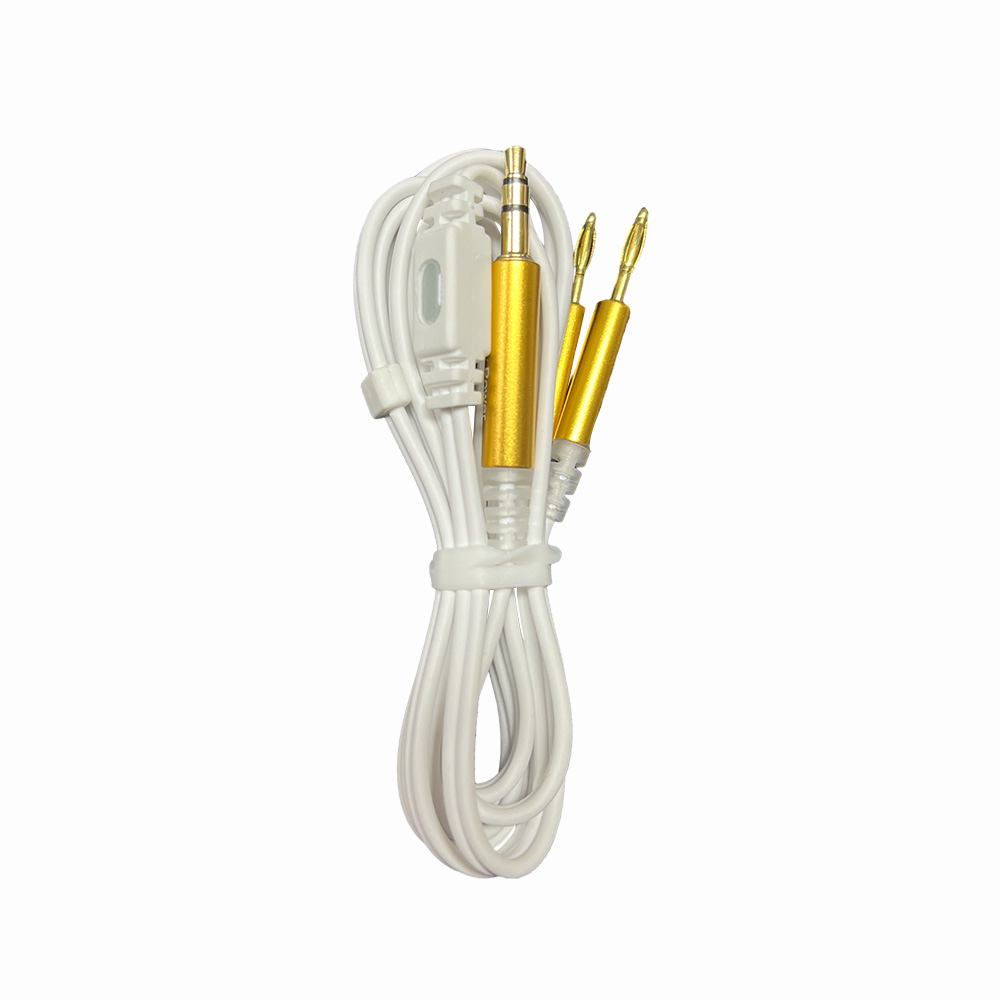
🔹 If using the Zapper or High Power cable
Pads must not be placed above the neck or near the heart.
For your situation:
For right leg or foot, place one pad on the back or side of your calf and the other slightly above, toward your thigh (not directly over joints).
For hand or arm symptoms, place pads on the forearm — one closer to the wrist, one higher up toward the elbow, but not directly on it.
⚠️ General Safety Tips
Always leave about 5 cm (2 inches) between pads.
Avoid joints, open wounds, or irritated skin.
Make sure pads are dry and sticky before use.
Do not place pads over the heart or eyes, and avoid use when wet.